
How to Record Screen and Camera at the Same Time on Mac (2026 Guide)
Want to record your screen and camera at the same time on Mac? A combined screen-and-camera recording is one of the clearest ways to make a product demo, tutorial, onboarding video, course lesson, or founder update feel more human and easier to follow.
The basic goal is simple: capture the app or presentation on your screen while keeping your face, voice, and explanations visible. The best workflow also lets you edit the screen, camera, audio, captions, and movement after recording, so the final video has a clear story rather than just a raw capture.
Quick answer
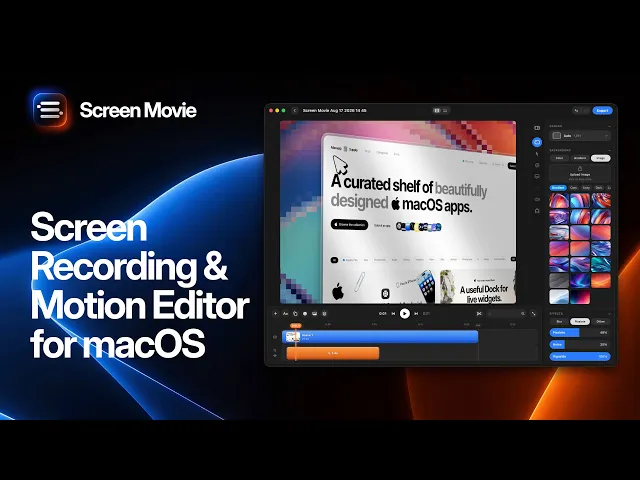
A dedicated Mac screen recorder such as Screen Movie can capture your screen with up to two cameras at once, including a built-in camera, external camera, iPhone, or iPad. Each camera is added as a separate editable track, so you can refine the layout, trim the recording, add captions, and export a polished video afterward.
What you need before you start
Choose the screen area you want to capture, decide whether the camera should sit in a corner or appear more prominently, and check your microphone and system-audio settings. A short test recording is worth the minute it takes: it reveals permission prompts, unwanted notifications, audio problems, and whether your camera framing supports the message.
How to record screen and camera at the same time on Mac with Screen Movie
1. Start a new screen recording
Open Screen Movie and start a new recording. Select the display, app window, or screen area that matches the part of the product or presentation you want to explain. Keep the capture area focused so viewers always know where to look.
2. Choose the capture area deliberately
For a product demo, capture the exact application window or a carefully chosen area instead of a cluttered desktop. For a tutorial, make sure text is readable at the final export size and hide sensitive tabs, notifications, and distracting browser extensions before you press record.
3. Add your built-in, external, iPhone, or iPad camera
Add one or two camera sources to the recording. Use a small camera frame when the interface should be the focus, or use a more prominent presenter frame for a lesson, pitch, or personal explanation. Because each camera becomes its own track, you can adjust the visual balance later instead of committing to one layout forever.
4. Select microphone and system audio
Choose the microphone you want to use, then decide whether the recording also needs system audio. For narrated demos, clear voice audio usually matters most. For a music app, game, or product with important sound feedback, confirm that system audio is enabled and make a quick test clip before recording the full take.
5. Record the explanation, not just the clicks
Start with the outcome, then guide the viewer through the few actions that prove it. Move deliberately, pause briefly before important moments, and narrate why a feature matters instead of merely describing where a button is. Short, purposeful takes are easier to edit into a strong story.
6. Turn the recording into a finished video
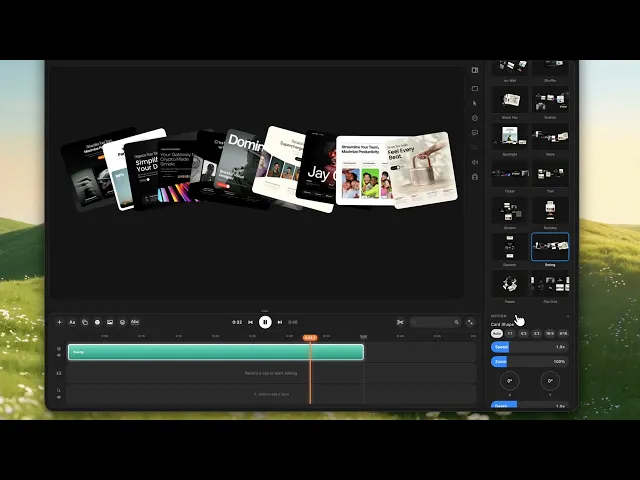
After recording, trim pauses and mistakes, arrange scenes on the timeline, and give important moments visual emphasis. Add captions, cursor styling, click highlights, animated text, a branded background, keyframed zoom, or a motion preset to help viewers follow the product without adding unnecessary complexity.
Screen-and-camera recording checklist
Use case | Recommended setup | Finishing move |
|---|---|---|
Product demo | App window as the focus with a compact camera frame | Use captions, cursor highlights, and targeted zoom |
Tutorial or lesson | Readable screen capture with a steady presenter camera | Trim pauses and add clear on-screen steps |
Founder update | Screen plus a larger camera introduction or wrap-up | Combine scenes and add a concise title |
Customer walkthrough | Screen-led recording with camera where context helps | Use a clean cursor path and remove irrelevant clicks |
Tips for better screen and webcam recordings
Record a 15-second test clip before the real take to confirm camera framing, permissions, and audio.
Close private tabs, mute notifications, and simplify the desktop so viewers are not distracted.
Keep the camera close to eye level and use a simple, evenly lit background when you appear on screen.
Write a short outline with the problem, the key action, and the result before you start recording.
Use camera footage intentionally: it should add trust, explanation, or energy — not cover the interface.
Export at a resolution that keeps important interface details readable for the destination where the video will be watched.
When screen-and-camera recording is most useful
Product demos and launch videos
A camera track gives the viewer a human guide while the screen proves the product. Use the camera for the introduction, a key explanation, or the closing call to action, and let the interface carry the detail in between.
Customer onboarding and support tutorials
For onboarding, screen and camera together can make technical steps feel less intimidating. A calm, direct explanation paired with captions and intentional zoom helps customers keep pace without replaying every moment.
Courses and internal training
In lessons, a presenter camera builds connection while the screen shows the exact process. Keep the layout stable, cut unnecessary pauses, and break long lessons into short sections that each answer one clear question.
Frequently asked questions
Can I record my screen and webcam at the same time on Mac?
Yes. Screen Movie supports recording a screen alongside up to two cameras at once. You can use the built-in camera, an external camera, iPhone, or iPad, then edit every camera track separately after the capture.
Can I use my iPhone as a camera for a Mac screen recording?
Yes. Screen Movie supports using an iPhone or iPad as part of its camera workflow. This can be useful when you want a different angle, stronger camera quality, or a second presenter view.
Can I record audio while recording screen and camera?
Yes. Screen Movie supports microphone and system audio capture. Select the audio sources you need, check macOS permissions, and record a short test before capturing an important demo or lesson.
Can I edit the camera position after recording?
Yes. Because camera sources are separate tracks, you can refine their placement and timing in the edit rather than relying on a fixed live layout. That gives you more control over where the viewer’s attention goes.
Final takeaway
The best way to record screen and camera at the same time on Mac is to treat the capture as the start of the video, not the final deliverable. Screen Movie combines screen capture, camera tracks, audio, captions, motion, and editing in one native workflow, making it a strong choice for polished demos, tutorials, training, and launch videos in 2026.
