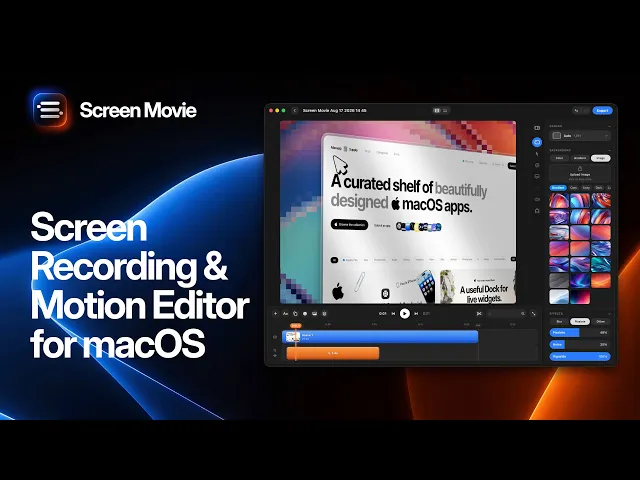
How to Make a Product Launch Video on Mac (Without Hiring an Editor)
A launch video has one job: make someone who has never heard of your product understand what it does and why they should care, in under a minute. It’s the first thing people see on your Product Hunt page, the post that gets reposted on X, and the hero of your landing page.
Most founders either skip it (“I’ll just post screenshots”) or lose a week fighting a pro video editor. You don’t need either. This guide walks through a launch video you can make on a Mac in an afternoon: script, record, polish, export.

What makes a good launch video
Before you open any app, it helps to know what you’re aiming for. The launch videos that get shared tend to have the same traits:
The outcome comes first. The first 3 seconds show the result, not your logo.
Short. 30–60 seconds for X and your main launch video. Up to 90 seconds for Product Hunt; a landing-page hero loop can be shorter.
Works on mute. Most people scroll with the sound off, so on-screen text carries the story.
Real product, real UI. Viewers trust actual footage more than abstract animation.
Guided attention. Zooms and a smooth cursor show exactly where to look.
One clear call to action at the end: the URL, “Live on Product Hunt”, or “Try it free”.
Step 1: Write a 60-second script
Use this structure. It fits almost any software product:
Time | Beat | What’s on screen |
|---|---|---|
0–3 s | Hook: the result or the pain | The most impressive output of your product, or the problem in one line of text |
3–10 s | Problem | Short text: “Making X used to take Y” |
10–40 s | How it works: 2–3 key moments | Real screen recording, zoomed in on each action |
40–52 s | Proof or differentiator | Speed, a before/after, a number, a quote |
52–60 s | Call to action | Logo, URL, offer |
Tips for the hook
Show, don’t tell: “Turn a screen recording into this” plus the finished result.
Use the words your customers use. If they say “I hate editing videos”, put that on screen.
Avoid starting with a logo animation. Lead with the product’s result instead.
Write the on-screen text first. Keep each line under about 8 words and on screen long enough to read twice.
Step 2: Prepare your product for recording
Messy demo data is a common reason a launch video looks amateur.
Use clean, realistic demo data. Real-looking names and numbers, no “test test 123”, nothing private.
Hide distractions. Close other apps, hide desktop icons, turn on Do Not Disturb, and clear browser bookmarks bars and extra tabs.
Set a consistent window size. Record at the size you’ll export, or larger. A 16:9 browser window works for landscape; plan a tighter area if you also want a vertical cut.
Rehearse each moment. Know exactly where you’ll click. Every hesitation is something you’ll have to cut.
Use light or dark mode on purpose, matching your brand and landing page.
Step 3: Record each moment as its own clip
Don’t try to record the whole video in one take. Record one short clip per beat in your script, then assemble them.
With Screen Movie, click the recorder in the Mac’s notch and choose a full display, a single app window or an area. While recording:
Move the cursor slowly and deliberately. Pause for a beat before and after each important click. That gives the auto zoom room to breathe.
Record a voiceover separately if you use one. It’s easier to fix and re-time later. Test your microphone and audio setup before you record the final clips.
Add a face if it helps trust. For a founder-led launch, a small camera bubble can add a personal touch. You can record up to two cameras alongside the screen, with each camera on its own editable track.
Step 4: Add zoom and cursor polish
Raw screen recordings look small and busy, especially on a phone. This step is what makes a recording look produced.
Auto zoom: Screen Movie zooms in on where your cursor goes and saves each zoom as keyframes, so you can shift timing or change the motion target in the timeline.
Zoom on decisions, not on every movement. 3–5 zooms in a 60-second video is usually plenty.
Smooth the cursor and make it slightly larger, so it reads on small screens.
Cut the waiting. Trim loading states and pauses. A launch video should feel faster than real life.
For more detail, see best screen recorders for Mac with auto zoom.
Step 5: Add motion, text and a background
This is where most founders reach for After Effects, and where most launch videos stall. You only need four things:
A background and frame. Put your recording on a gradient or image background with rounded corners and a soft shadow. Screen Movie also has animated shader backgrounds that add movement without distracting.
Animated text for your hook, problem line and key benefits. Use one font and one or two colors.
Motion presets for transitions between scenes. Screen Movie ships with 40+ presets you can drop on the timeline, plus 3D rotation for camera-like moves.
A device mockup for the hero shot. 3D device mockups make an app look real and work well as the opening or closing scene.

Keep it restrained. One style of transition, used consistently, looks more professional than ten different effects.
Step 6: Add captions and the call to action
Captions if there’s a voiceover. Many people will watch muted.
End card: logo, product name, URL, and one action: “Live on Product Hunt today” or “Try it for $39”.
Hold the end card for 3–4 seconds, so people can read the URL.
Step 7: Export one master, then a version for each channel
Export a 4K or 1080p master in 16:9, then make cut-downs. The formats below are practical starting points; check each platform’s current upload requirements before launch.
Channel | Format | Length | Notes |
|---|---|---|---|
Product Hunt | 16:9, uploaded to YouTube and added to your launch gallery | 45–90 s | Can be slightly longer and more explanatory; help viewers understand the product |
X (Twitter) | 16:9 or 1:1, native upload | 30–60 s | Hook in the first 2 seconds; large on-screen text; post natively instead of a YouTube link |
1:1 or 4:5 | 30–60 s | Square or vertical takes more of the feed | |
Landing page hero | 16:9, autoplay muted, looping | 15–30 s | Short, no audio needed, small file so the page loads fast |
Shorts / Reels / TikTok | 9:16 | 15–45 s | Reframe so the UI is large; put text in the center safe area |
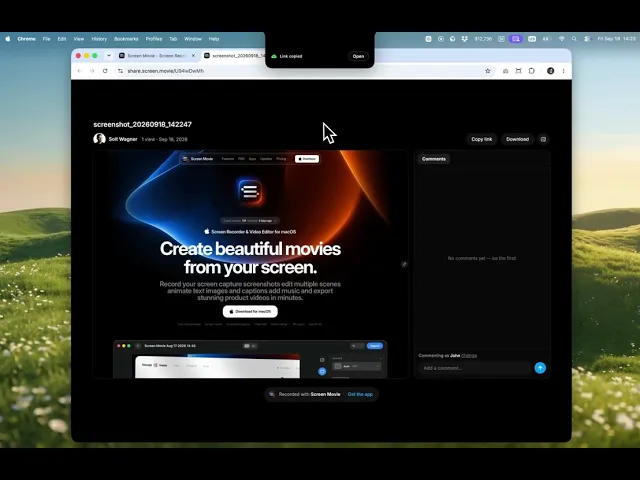
Landing page tip: a heavy video slows your page. Export a short, compressed loop for the hero, and link to the full version.
Launch video checklist
Hook shows the result in the first 3 seconds
Under 60 seconds, or up to 90 for Product Hunt
Every beat is understandable on mute
Clean demo data, no personal info
3–5 deliberate zooms, smooth cursor
One font, one transition style
End card with URL held for 3+ seconds
Separate exports for Product Hunt, X, landing page and vertical
Example: Screen Movie video workflow
The video below is reused from our product demo guide as a workflow reference. Use it to explore the recording and editing process, then build your launch cut around the hook, proof and call to action above.

FAQ
How long should a product launch video be?
30–60 seconds for X and LinkedIn, and up to about 90 seconds for Product Hunt, where visitors are already interested and want to understand the product. For an autoplay landing-page hero, use a shorter 15–30-second loop and link to the full launch video.
Do I need a voiceover?
No. Many launch videos use only on-screen text and music, because people often watch muted. Add a voiceover or your face on camera when your personal story is part of the pitch.
What’s the best app for making a launch video on Mac?
You need a screen recorder with automatic zoom, backgrounds, animated text and a timeline. Screen Movie does all of that in one native Mac app for $39 one-time. It requires macOS 15 or later.
Should I hire an editor for my launch video?
If you have the budget and a big launch, a good editor helps. For an indie or SaaS launch, a self-made video with real product footage, clear text and smooth zooms is a practical starting point, and you can update it every time you ship a feature.
How is a launch video different from a product demo?
A launch video sells the idea in under a minute. A demo walks someone through how the product works, and can be several minutes long. For demos, read how to create a professional product demo video on Mac.
Related reading
Editorial check before publishing: replace the workflow-reference example with a confirmed launch video made in Screen Movie, and add 3–4 actual timeline screenshots showing motion presets, a device mockup and animated text. Confirm the audio-track behavior before adding claims that microphone and system audio always have separate tracks. Add links to the Screen Studio comparison and one-time purchase roundup when those drafts are ready to publish.
