How to Make Cinematic Screen Recordings on Mac: 10 Techniques That Work
A normal screen recording is flat: a full desktop, a tiny cursor, nothing moving except the mouse. A cinematic screen recording feels like a camera is filming your product. It glides in on the important parts, tilts in 3D, has depth and light, and moves at a deliberate pace.
You don’t need After Effects or a motion designer to get started. These ten techniques help turn a raw Mac screen capture into a cinematic product video, whether you’re making a launch clip, a landing-page loop or a polished app demo.
The short version: record sharp source footage, zoom only where it helps understanding, smooth the cursor, add restrained depth, and edit out dead time. The product should remain readable even when the camera moves.
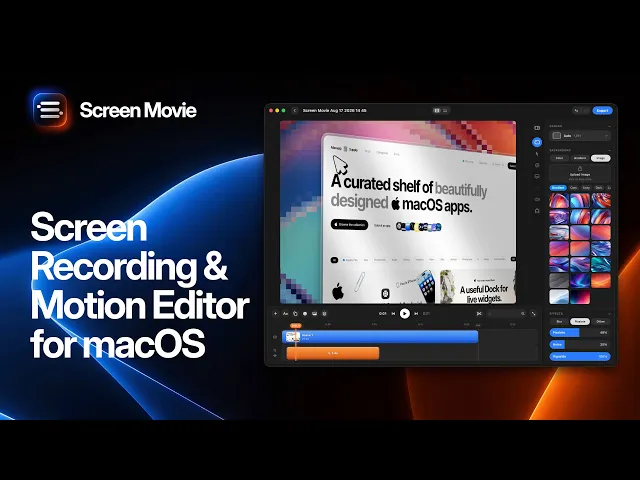
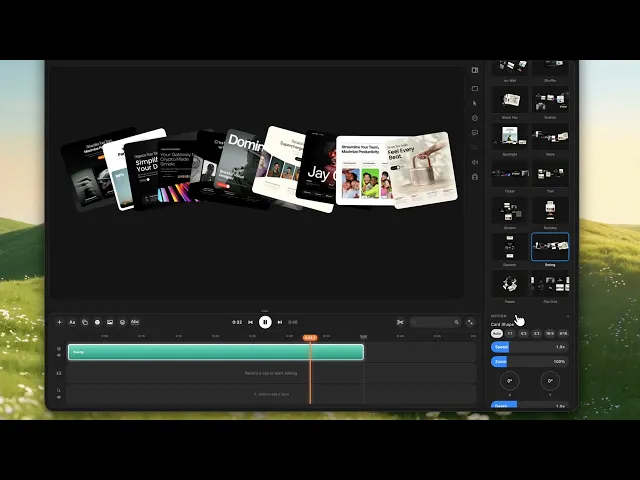
Disclosure: this guide is published by Screen Movie. The examples below reuse Screen Movie workflow videos from our earlier guides; they are not a verified raw-versus-edited before-and-after comparison.

What makes a screen recording look cinematic?
Cinematic screen recordings borrow a few ideas from film:
A virtual camera. The frame zooms, pans or tilts instead of staying locked on the full screen.
Easing. Moves accelerate and settle rather than starting and stopping abruptly.
Depth. The screen floats above a background with shadow, light and perspective.
Motion blur. Where supported, fast moves blur slightly, like a real camera.
Pacing. Cuts land deliberately; nothing lingers or rushes.
If you’re aiming for an Apple-style product video, restraint matters more than the number of effects. Clear typography, generous space and a few controlled moves usually work better than constant rotation.
1. Record clean, high-resolution source footage
Cinematic zooms magnify your recording, so start with the sharpest footage you can.
Record on a Retina display at a high source resolution, and export a 4K master when you plan to crop or zoom heavily.
Use clean demo data, hide desktop icons and the bookmarks bar, and turn on Do Not Disturb.
Move the mouse slowly and pause before and after every important click. Smooth input gives you more editing room.
Exporting at 4K does not restore detail missing from a low-resolution recording. Capture enough detail first, then check your most tightly cropped shot at the final delivery size.
2. Zoom into the action, then back out
A well-timed screen recording zoom effect is often the biggest upgrade. Instead of showing the whole screen throughout, move the frame toward the button, result or number that matters.
In Screen Movie, auto zoom follows your cursor and turns zooms into editable keyframes on the timeline. Adjust timing or the motion target so the frame lands where you want.
Rule of thumb: zoom on decisions, not every movement. Three to five deliberate zooms per minute is a useful starting point, not a requirement. Leave enough context around the target that viewers know where they are.
3. Ease every camera move
Linear motion can look robotic. Cinematic motion eases in and eases out: it accelerates gently, then settles.
Screen Movie offers editable zoom keyframes and 40+ motion presets. Preview the move you choose rather than assuming every preset uses the same easing. Look for a gentle start, a readable focal point and a clean finish.
Give the camera time to settle before the next action. Half a second is a useful starting point; hold longer when viewers need to read a label or understand a result.
4. Smooth the cursor
A jittery cursor distracts from the interface. Use cursor smoothing so the pointer glides between deliberate actions, and make it slightly larger so it reads on phones.
Screen Movie lets you change the cursor’s size, style and motion effects. Keep the pointer visually consistent, and use click effects sparingly so the viewer can distinguish navigation from the key action.
For a smooth screen recording on Mac, avoid moving the cursor while the audience is reading. Park it away from important text, then move directly to the next target.
5. Add subtle 3D rotation and perspective
A subtle 3D tilt makes a flat interface feel like an object. Screen Movie includes 3D rotation for screen movements.
Start around 5–15 degrees and judge the result at your delivery size. More rotation can make text hard to read. A slow tilt that straightens as you zoom in is a useful opener: establish the scene, then return to a clear view for the actual demonstration.
Use perspective for hero shots, not every instructional moment. When someone needs to read the UI, clarity wins.
6. Give the screen depth with a background, shadow and light
Put your recording on a simple stage:
Background: a gradient, brand image or animated shader background. Screen Movie supports these treatments.
Frame: rounded corners and some padding so the UI feels intentionally presented.
Shadow and depth: a soft shadow separates the screen from the background.
Lighting and overlays: use a restrained glow or lighting treatment where it improves separation.
Keep the background quieter than the UI. If the animation attracts attention away from the product, reduce it or use a static background. Consistent framing across scenes makes the whole video feel more considered.

7. Use motion blur on fast moves, where supported
Real cameras blur fast motion. A touch of motion blur can make a quick zoom or transition feel less mechanical. Keep it subtle: the UI should be sharp again when the move stops.
This is a general motion-design technique, not a confirmed Screen Movie feature. Use it only if your chosen editor exposes motion-blur controls. If it doesn’t, slower moves and gentler transitions can still look cinematic without an extra editing app.
8. Show the product in a 3D device mockup
For openers and closers, a 3D device mockup can add a polished product-shot feel. Screen Movie includes device mockups with ready-made motion clips, so you don’t need to build the scene from scratch.
Choose a mockup available in the app that fits the product and footage. Preview its movement and crop before committing; this guide does not assume any particular device model is included.
Keep the recording large enough to understand. A beautiful device shot that hides the interface is useful as an opener, but not as the only view of how the product works.
9. Add animated text that moves with the camera
Cinematic product videos often tell the story with a few short animated words: the hook, the benefit, the result.
Keep each line under about eight words.
Use one font and one or two colors.
Bring text in as the zoom settles, rather than making the audience track two competing movements.
Screen Movie has animated text and shapes on the same timeline as your recording. Use a label to explain why an action matters, not just repeat the button’s name.
10. Edit to a rhythm
Pacing is what makes the techniques feel like one coherent video rather than a collection of effects.
Cut the waiting. Remove unnecessary loading states, typing and pauses.
Cut on beats. If you use music, line up some zooms and scene changes with the beat. Use music you have permission to publish.
Vary shot length. Short shots create energy; a slower shot gives the key result room to register.
Start with the result. Put the most impressive shot in the first three seconds.
Use a multi-scene timeline to arrange several short recordings rather than forcing one long take into a cinematic edit. Watch the finished cut once on mute and once on a phone: both reveal pacing and readability problems quickly.
A 30-second cinematic screen recording recipe
Time | Shot | Techniques |
|---|---|---|
0–3 s | Show the final result in a device mockup or hero frame | Controlled rotation, short animated headline |
3–8 s | Tilted screen straightens as the camera pushes in | Subtle 3D rotation, eased zoom, soft shadow |
8–20 s | Two or three key actions | Editable zoom keyframes, smooth cursor, short labels |
20–26 s | Show the result clearly | Zoom out, restrained lighting, benefit text |
26–30 s | Product name, logo and URL | Simple text animation, hold for at least 3 seconds |
Treat this as a starting structure, not a preset you must follow. If the product’s value is obvious in one action, give that action more time and use fewer shots.
Cinematic screen recording checklist
Sharp source footage; a 4K master when useful
A few deliberate zooms with smooth starts and stops
Smoothed, slightly larger cursor
Subtle 3D tilt where it adds context
Quiet background, rounded frame and soft shadow
Optional motion blur only where the editor supports it
Short animated text that does not compete with camera moves
Result shown in the first three seconds
Tight cuts, no unnecessary dead time
Readable UI on a phone and an understandable story on mute
FAQ
Which Mac apps create cinematic screen recordings for product videos?
Look for automatic zoom, smooth camera motion, cursor smoothing, backgrounds and an editable timeline. Screen Movie ($39 one-time) adds 3D rotation, 3D device mockups, 40+ motion presets, animated text and animated shader backgrounds on a multi-scene timeline. It requires macOS 15 or later. Screen Studio and CleanShot X’s Studio Mode cover auto zoom, cursor smoothing and backgrounds. Read Screen Studio vs Screen Movie for a detailed comparison.
How do I make a screen recording look professional?
Use clean demo data, a smooth and slightly larger cursor, deliberate zooms on key actions, a quiet background with shadow and rounded corners, short on-screen text and tight editing. Our product demo video guide covers the workflow end to end.
Do I need After Effects for cinematic product videos?
No. Dedicated Mac apps such as Screen Movie provide zoom, 3D rotation, device mockups, motion presets and animated text without building every effect from scratch. After Effects is an option when you need fully custom motion graphics beyond your recorder’s editing tools.
What resolution should I export cinematic screen recordings in?
Capture high-resolution source footage and export a 4K master when you need significant zooming or cropping. Create lighter 1080p versions for social delivery and a short, compressed loop for your landing page. Upscaling a low-resolution recording won’t recover missing detail.
How do I add a zoom effect to a screen recording on Mac?
Use a recorder with automatic zoom. In Screen Movie, auto zoom follows your cursor and creates editable keyframes on the timeline. Adjust the timing and target, then preview the result at the final viewing size. See best Mac screen recorders with auto zoom.
Related reading
Editorial check before publishing: add a genuine raw-versus-edited before-and-after clip at the top if available. Confirm preset easing behavior and the currently included device mockups before making specific claims. The existing videos illustrate workflows, not one separately verified clip for every technique. Add the CleanShot X comparison link when that draft is ready to publish.
